
Last updated September 20, 2026
Full 25-point door and opener safety check with every visit - springs, cables, rollers, tracks, and your LiftMaster or Chamberlain opener included
You get a price before we start. It does not change when the truck arrives.
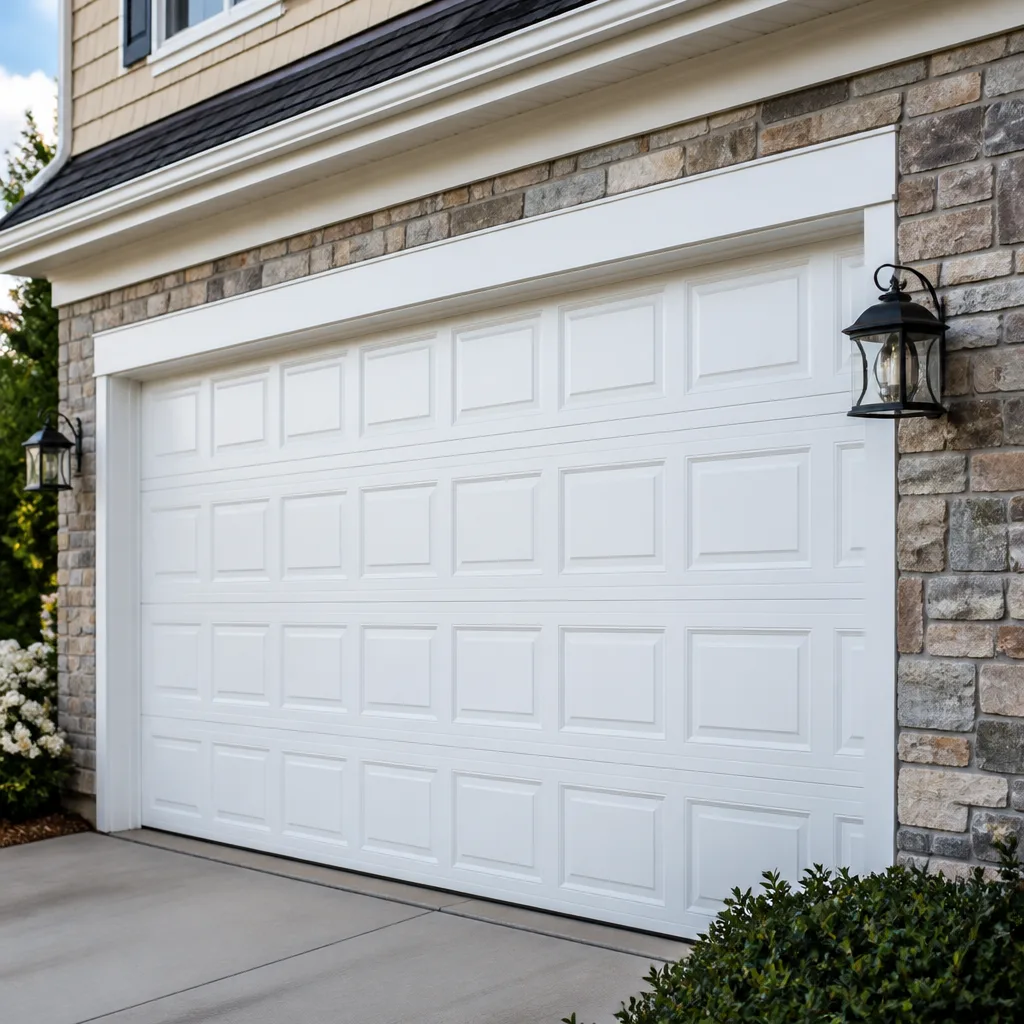
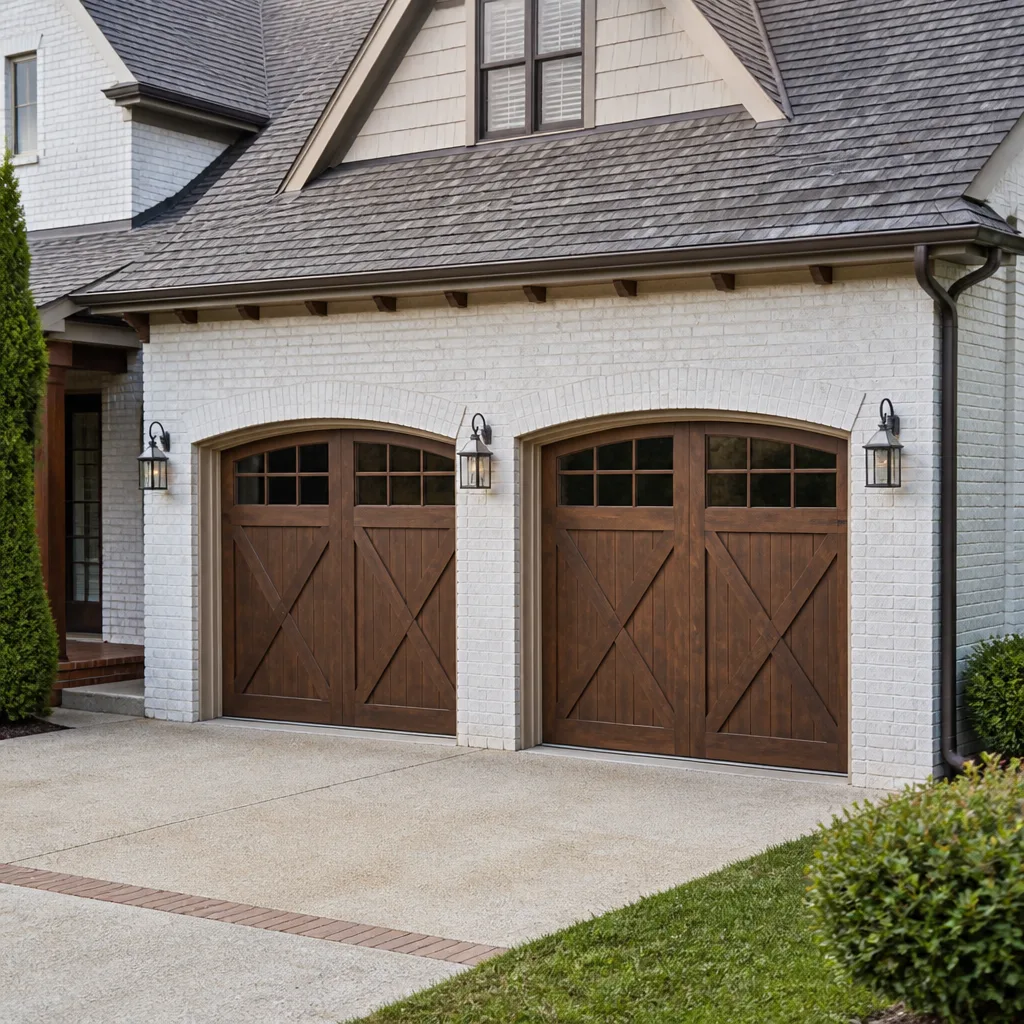
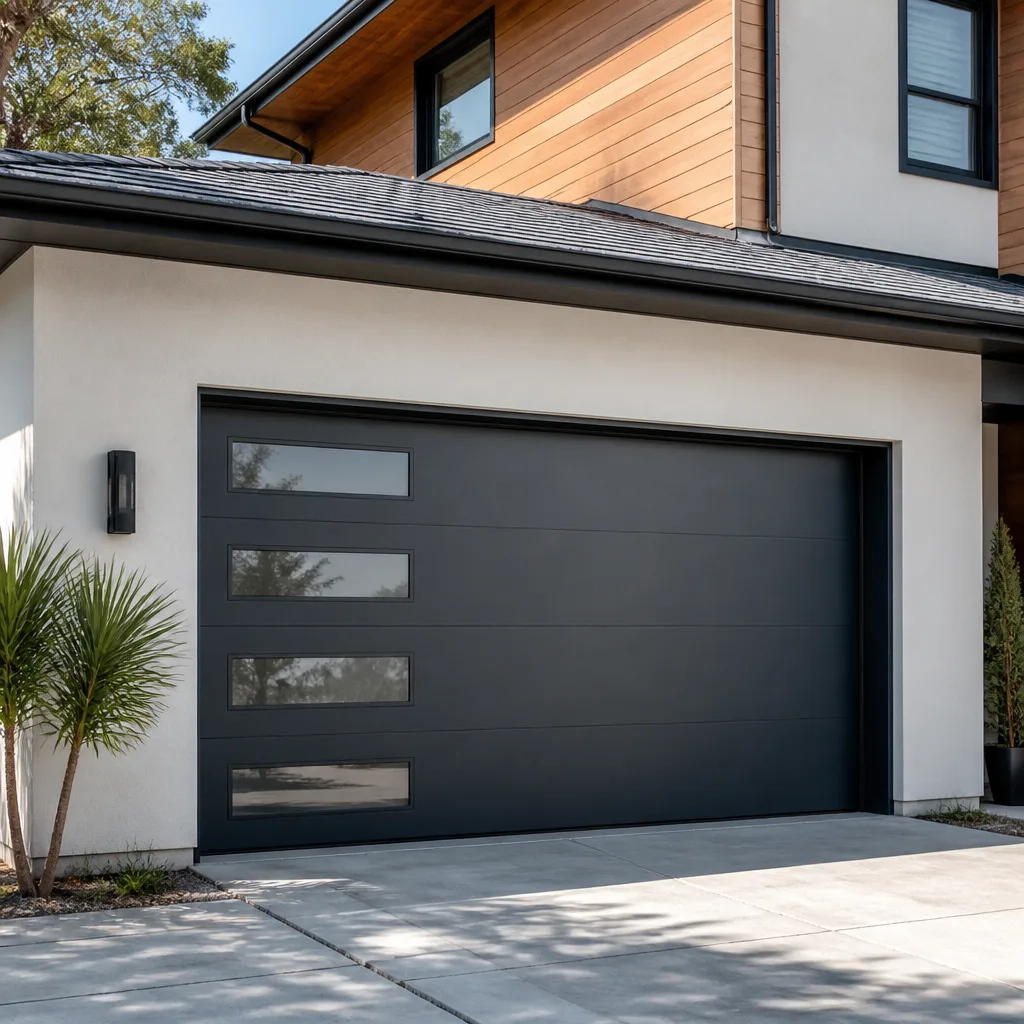

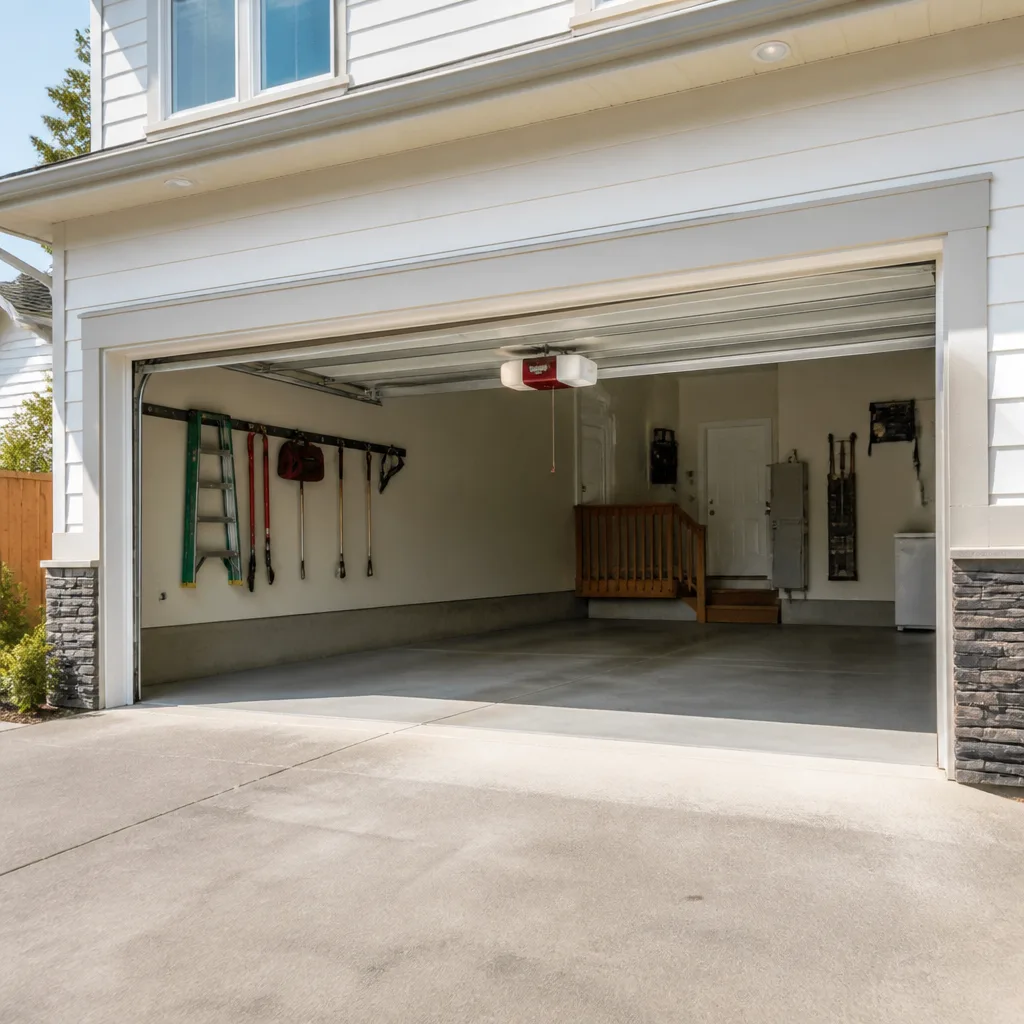
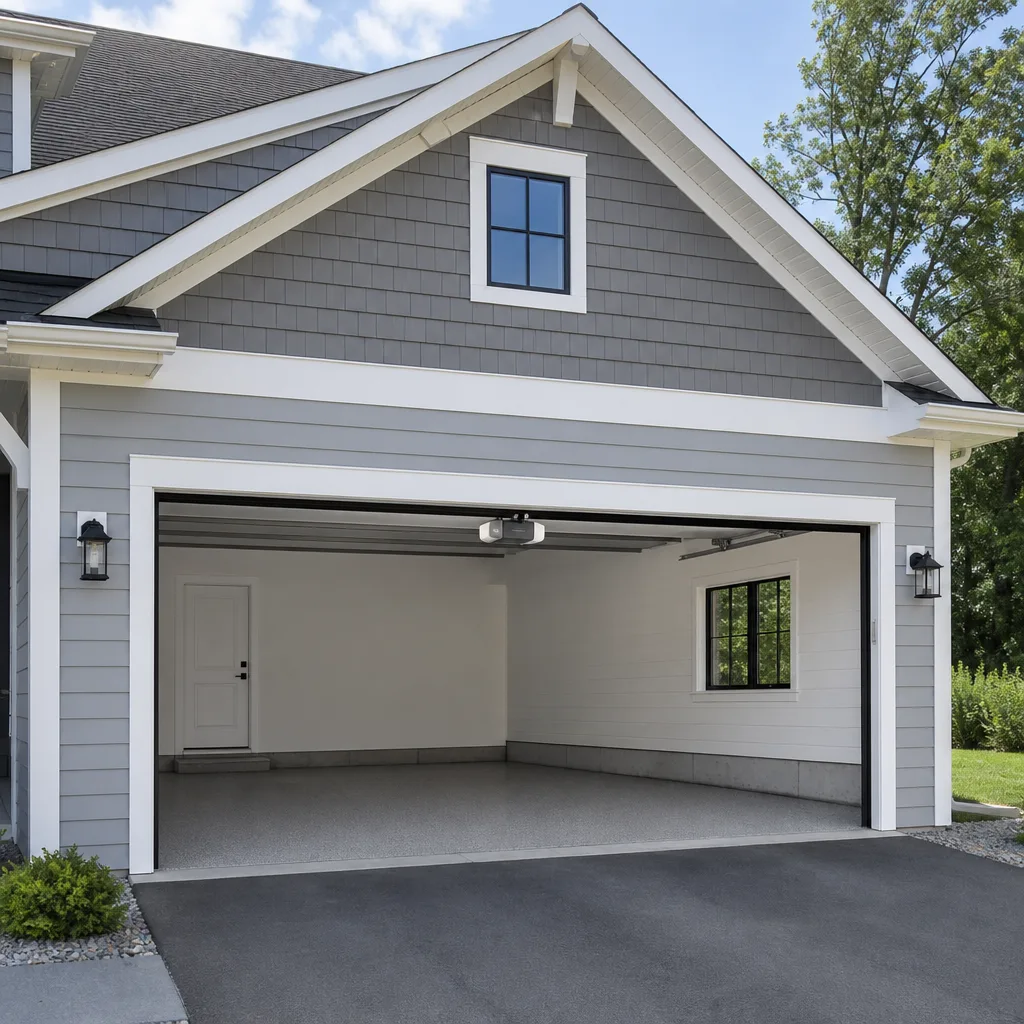
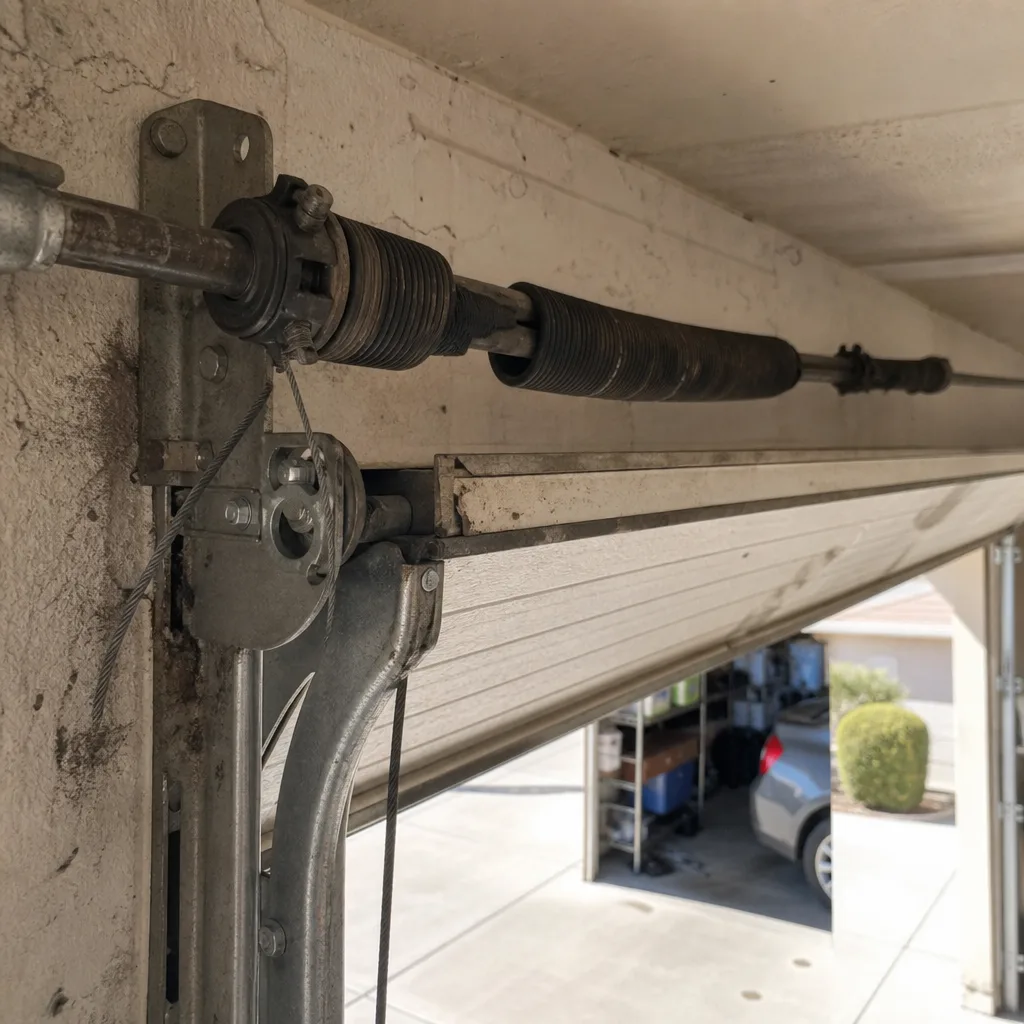 Before
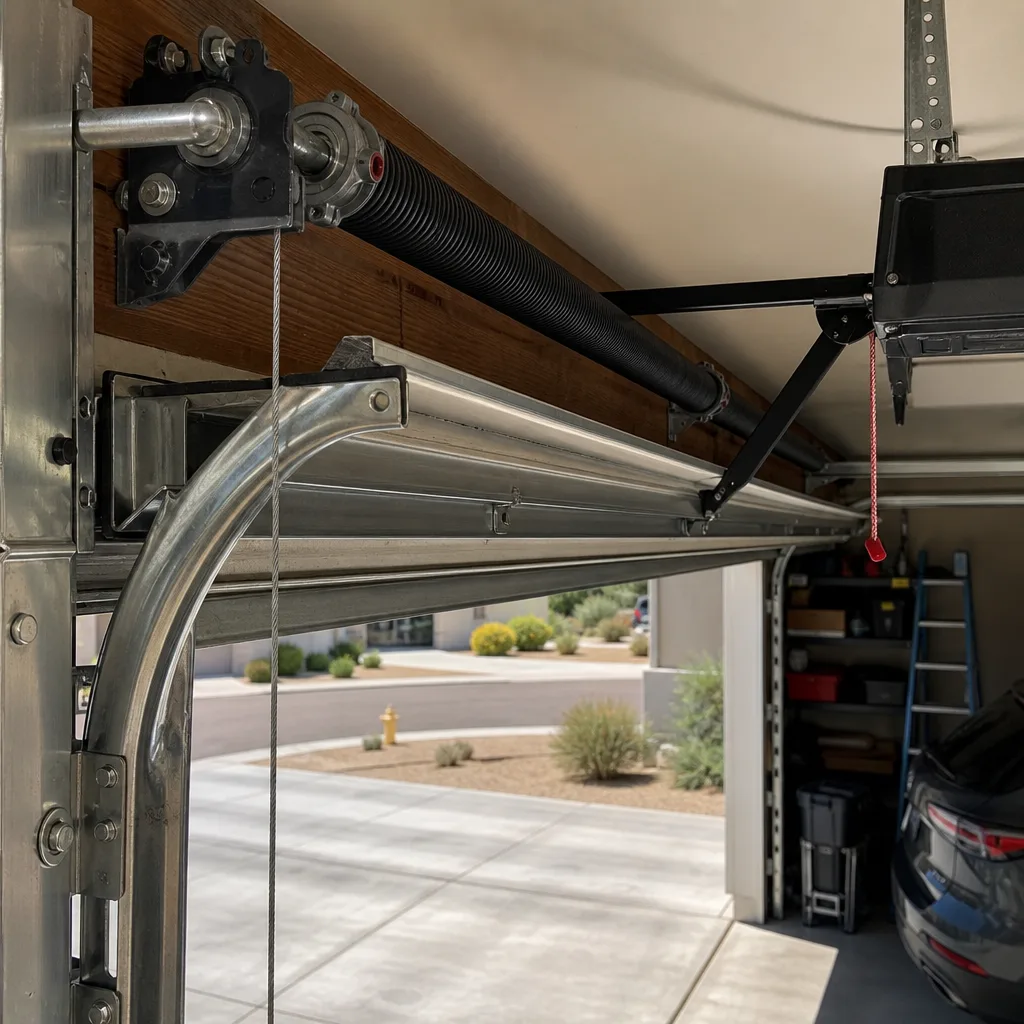 After
After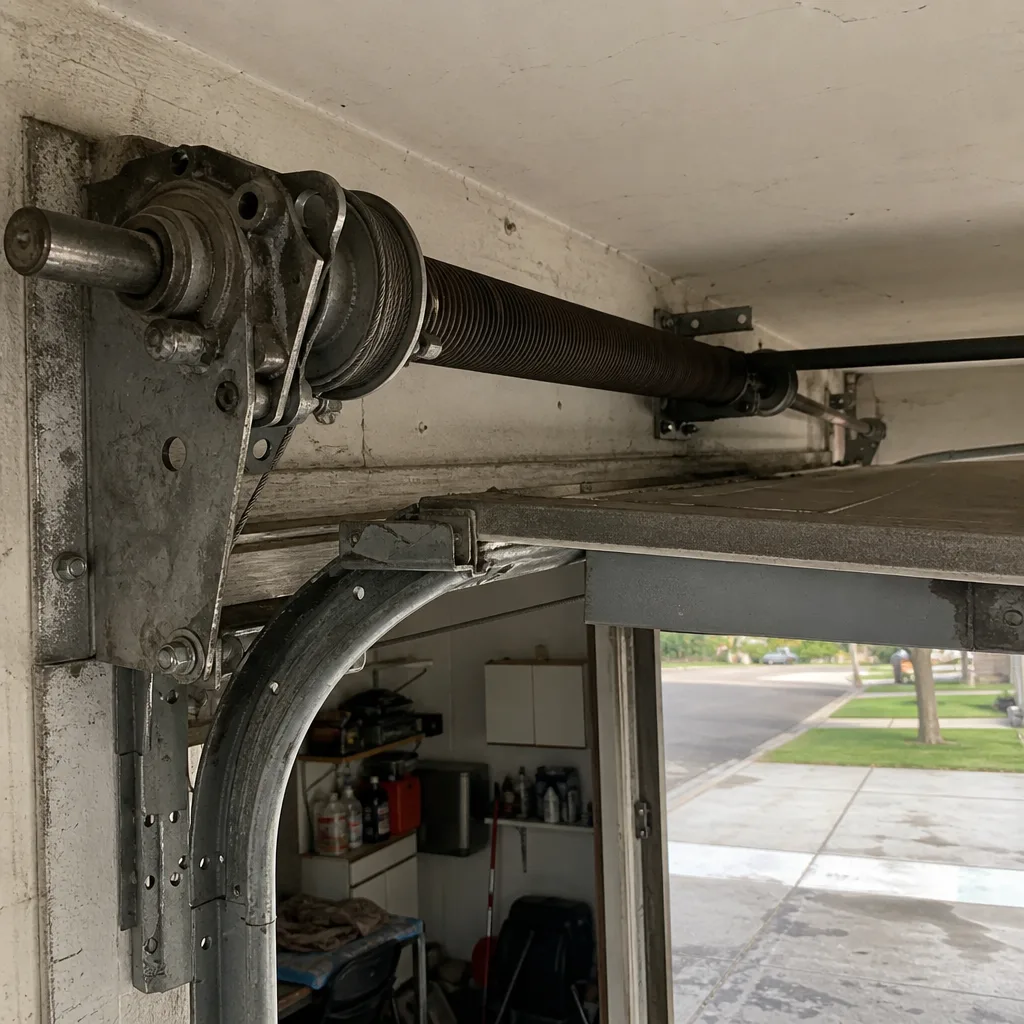 Before
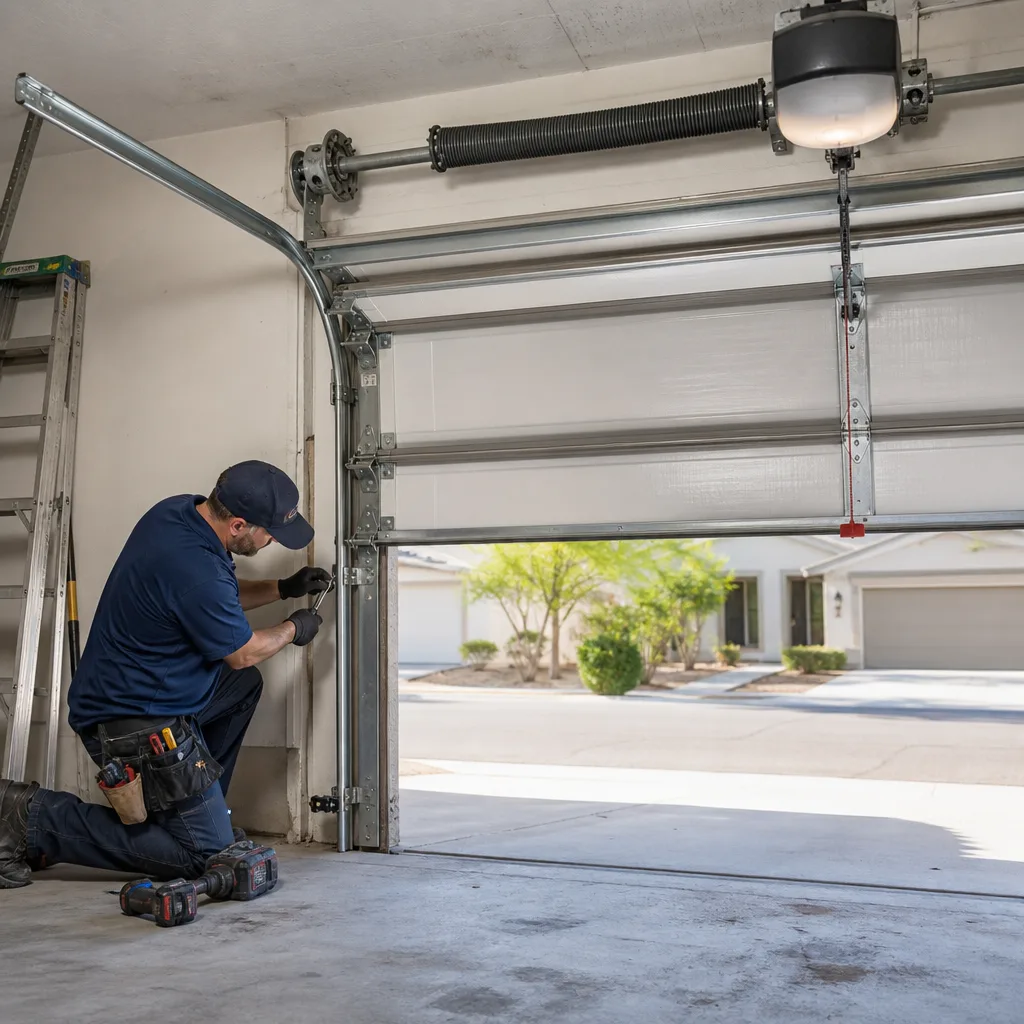 After
After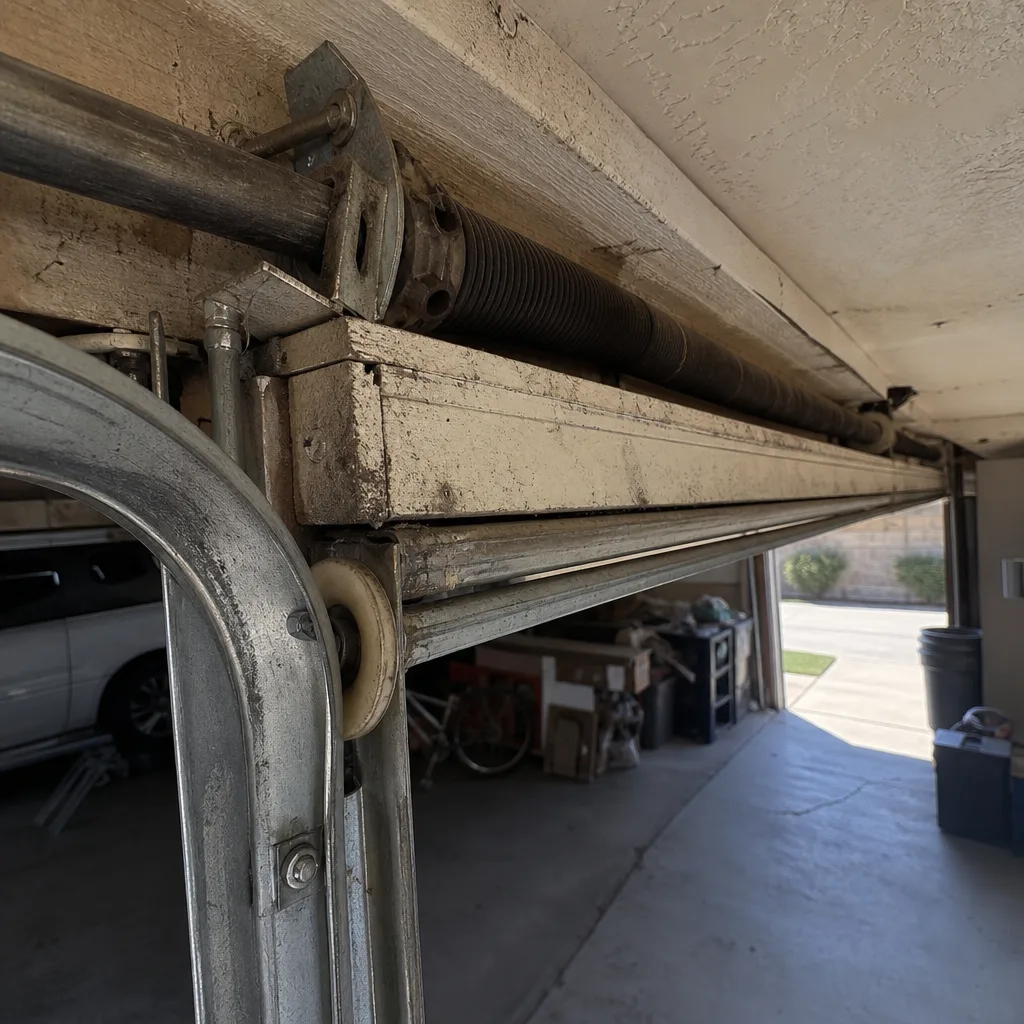 Before
 After
AfterDIY vs Professional Garage Door: The Gilbert Homeowner’s Decision Guide
A torsion spring on a standard residential garage door stores roughly 100 to 150 pounds of torque per turn, and most doors require seven to eight full turns to balance. That means the spring on your Gilbert home is holding back enough energy to snap bone if the winding bar slips. The DIY question, then, is not whether you’re handy. It’s whether the specific component you’re about to touch can fail in a way that a first-aid kit cannot fix. This guide-along with our Garage Door Repair Maintenance Checklist for Gilbert Homeowners-separates the few garage door tasks a Gilbert homeowner can safely handle from the many that belong on a written work order, and explains the mechanical reason for each line we draw.
Quick Answer
Most garage door maintenance in Gilbert is safe for a careful homeowner: cleaning photo-eyes, replacing weather seal on a non-tensioned door, adjusting opener force and travel limits, and testing the manual release. Springs, cables, and bottom brackets are not DIY tasks under any circumstances because the stored energy cannot be managed safely without steel winding bars and position-specific training. The line is drawn at the component, not at your confidence level.
Table of Contents
- The Energy Problem: Why Springs and Cables Are Different
- Tasks You Can Do: The Component-Safe List
- Tasks You Cannot Do: The Tension Zone
- The Real Cost of a DIY Attempt Gone Wrong in Gilbert
- What YouTube Tutorials Consistently Get Wrong
- The Strategic Split: How to Use DIY and Professional Service Together
- How a Written Quote Works at Component Level
- Common Mistakes to Avoid
- When to Call a Professional
- Frequently Asked Questions
- The Bottom Line
 Before
 After
AfterThe Energy Problem: Why Springs and Cables Are Different
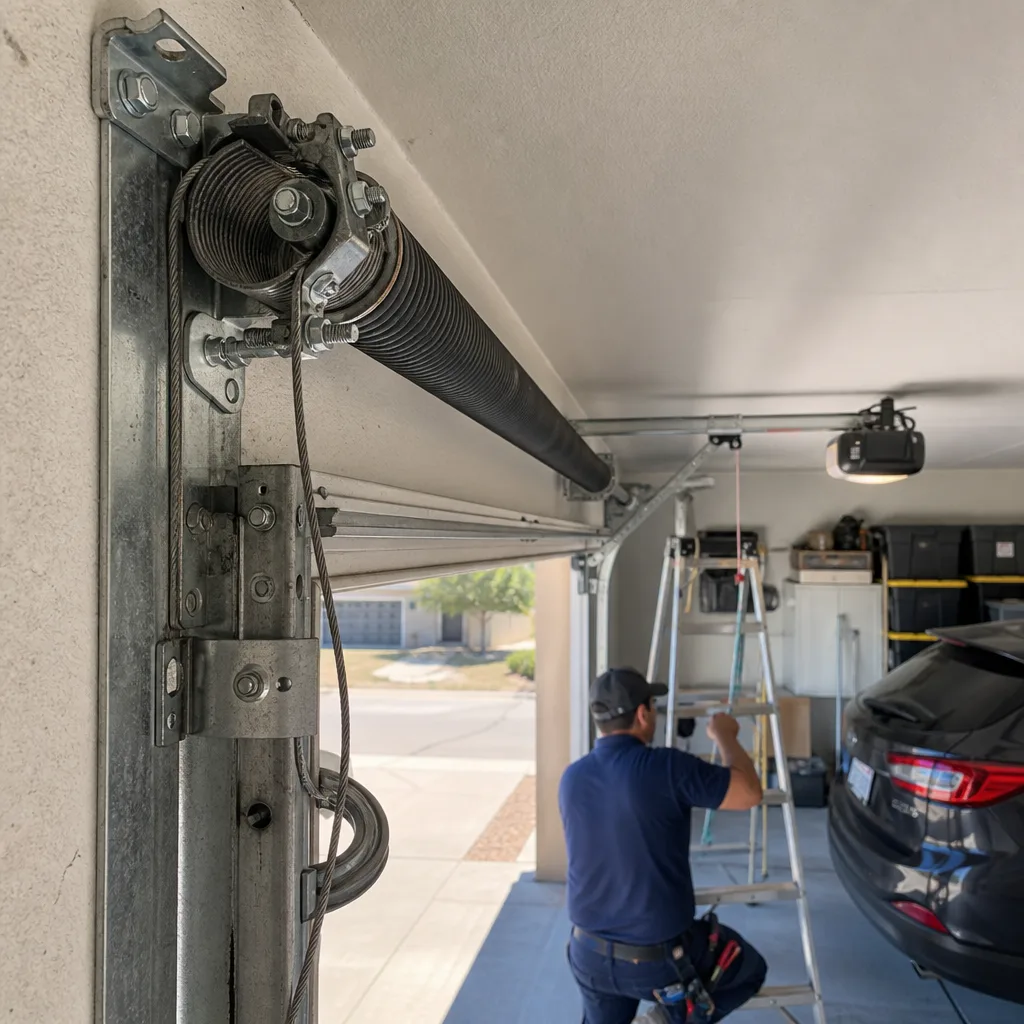
A garage door weighs between 130 and 400 pounds depending on material and size. The springs do the lifting, not the opener. When a Gilbert homeowner stands under a raised door, the torsion spring above the header is holding that entire weight in coiled steel. If that spring breaks while you’re working near it, the release is instantaneous and the path of the broken coil is unpredictable. That is not a statement about skill. It is a statement about physics.
We explain this to Gilbert homeowners regularly because the confusion is understandable. A garage door looks like a simple machine: panels, rollers, tracks, springs. But the spring system is a loaded weapon in the literal sense. The Consumer Product Safety Commission has tracked garage door injuries for decades, and the injury reports consistently involve two scenarios: a person winding or unwinding a torsion spring without steel winding bars, or a person removing a bottom bracket while the cable is still under tension. In both cases, the failure mode is not gradual. It is immediate.
The mechanical distinction that matters for this guide is simple. Components that store energy when the door is in its resting position are professional-only. Components that do not store energy can be touched by a homeowner who reads the manual and follows steps. That is the entire decision framework. Everything else is detail.
Tasks You Can Do: The Component-Safe List
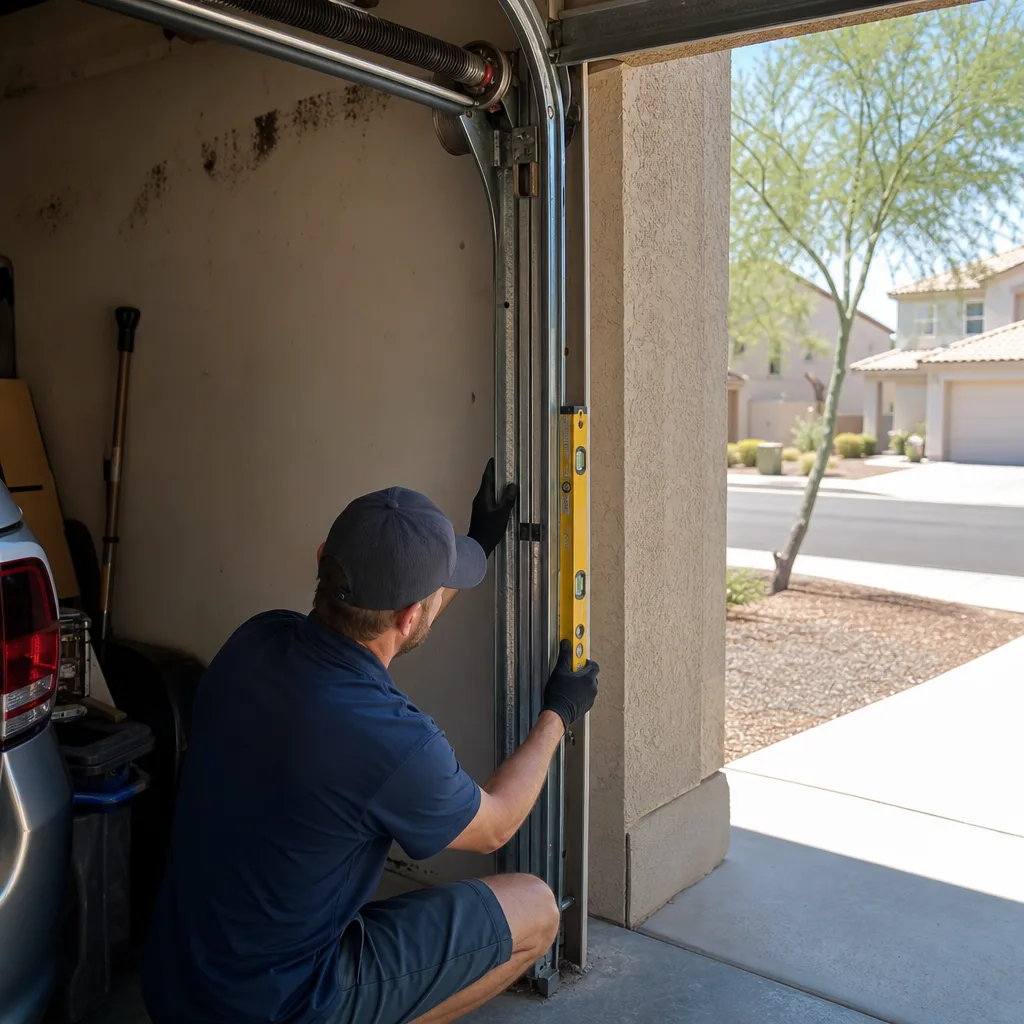
Here is the list of garage door tasks that do not involve stored energy and are appropriate for a Gilbert homeowner who wants to work carefully. Each one is specific, bounded, and reversible if you make a mistake. None of them require special tooling beyond what a typical household already has or can buy for under thirty dollars.
1. Photo-Eye Cleaning and Realignment
Photo-eyes are the small sensors mounted on each side of the door opening, about six inches off the ground. They project an invisible beam across the opening. When the beam is blocked, the door will not close, or it reverses mid-close. Gilbert dust and monsoon debris collect on the lenses, and the sensors get bumped out of alignment by bicycles, trash cans, and garden tools. This is the most common non-mechanical failure we see.
- Locate both photo-eye units on the vertical tracks near the floor.
- Wipe each lens with a dry microfiber cloth. Do not use glass cleaner; it leaves a film that diffuses the beam.
- Check the small LED indicator on each unit. One typically glows green, the other amber or red. If one is blinking or dark, the beam is misaligned.
- Loosen the wing nut that holds the unit to its bracket. Gently pivot the unit until both LEDs are solid. Tighten the nut.
- Test by pressing the wall button to close the door. Wave your hand across the beam path. The door should stop or reverse.
This task takes ten minutes and requires no tools beyond your hands and a cloth. It resolves a large percentage of “the door won’t close” calls in Gilbert, particularly after a monsoon wind event knocks a sensor bracket loose.
2. Weather Seal Replacement on a Non-Tensioned Door
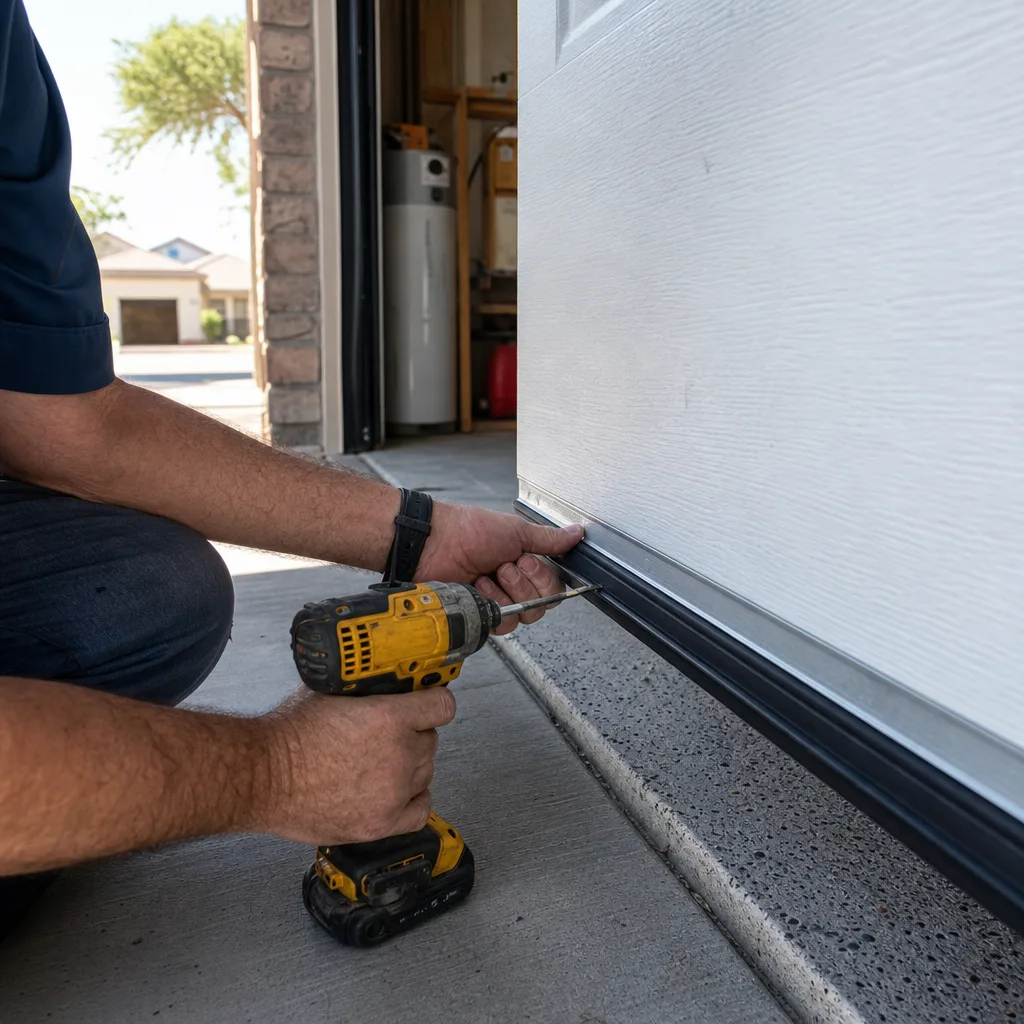
The bottom weather seal is a rubber or vinyl strip that runs along the bottom edge of the door panel. In Gilbert’s heat, this seal dries out, cracks, and eventually tears away in chunks. The results are dust intrusion, higher cooling costs in the garage, and scorpion or cricket access. Replacing the seal on a sectional door that sits fully closed does not involve tension components, but there is one rule: the door must be in the fully closed position, and you must not remove the bottom bracket that holds the cable. The seal slides out of its aluminum retainer channel, and a new one slides in.
Buy the replacement by brand and model, not by generic length. Chamberlain and Clopay doors use different retainer profiles, and a wrong profile will fall out within a week. This is a genuine DIY task that takes twenty minutes and costs between fifteen and forty dollars for the seal.
3. Limit and Force Adjustment on a Wall-Mounted Opener
Limit switches tell the opener where to stop when opening and closing. Force settings tell the opener how much resistance to push through before reversing. Both are adjustable from the opener unit itself, typically via two plastic dials or a small LCD menu on the motor housing. If your door stops four inches short of the ground or reverses for no visible reason, this adjustment often fixes it.
Make small changes, one quarter turn or one increment at a time, and test after each adjustment. The force setting should be high enough to close the door reliably but low enough that the door reverses when it meets a roll of paper towels placed flat on the ground. This test takes ninety seconds and confirms the safety reversal is working.
4. Manual Release Engagement and Testing
The red handle hanging from a rope or cord near the opener is the manual release. Pulling it disconnects the door from the trolley carriage, the part that moves along the rail. In a power outage, you need this to work. Test it quarterly. Pull the handle down and toward the door, then verify you can lift the door by hand. Reconnect by pressing the wall button or pulling the release handle again while the carriage is in its locked position. If the door is heavy or falls when released, that is a spring problem, not an opener problem. Do not attempt to lift a door that feels significantly heavier than normal; a failed spring can drop the full door weight on you.
Tasks You Cannot Do: The Tension Zone
The following components are under tension even when the door is closed. Touching them without steel winding bars, proper body positioning, and experience with the specific failure modes of each component is how injuries happen. We are not being cautious in a corporate liability sense. We are describing the mechanical reality of what happens when these parts fail under load.
Torsion Springs
The torsion spring is mounted on a steel shaft above the door. Its job is to counterbalance the door weight. A standard Gilbert residential door has one or two springs, each wound to seven or eight turns at installation. Removing or installing a torsion spring requires inserting two steel winding bars into the winding cone and working one quarter-turn at a time against the spring’s force. A single slip sends the bar out of the cone at high speed. The injury reports we reviewed while writing this guide include forearm fractures, facial lacerations, and one orbital bone fracture from a spring that released during an attempted DIY replacement. The spring does not care how careful you were being.
Extension Springs
Extension springs run along the horizontal track on each side of the door. They stretch when the door closes and contract when it opens. If an extension spring breaks, the broken end becomes a projectile. A containment cable running through the spring center is the only thing that keeps it tethered to the track. Installing or removing an extension spring requires releasing the door weight, which means the spring is at maximum tension during the process. This is not a ladder-and-socket-wrench job.
Cables
The lift cables run from the bottom brackets up to the cable drums on the torsion shaft. They carry the door’s weight during opening and closing. A frayed cable is a warning sign, not a maintenance item. When a cable snaps under load, the door can drop unevenly, bind in the track, and twist the remaining components. Cable replacement requires unwinding the torsion spring first, which puts you back in the danger zone described above.
Bottom Brackets
The bottom brackets hold the cables and attach to the bottom panel corners. They are under direct cable tension at all times. Removing a bottom bracket without first releasing spring tension is one of the most common sources of serious hand and finger injuries in garage door work. The bracket will move violently when the cable releases. This is the component that separates “handy homeowner” from “emergency room patient” more reliably than any other.
The Real Cost of a DIY Attempt Gone Wrong in Gilbert
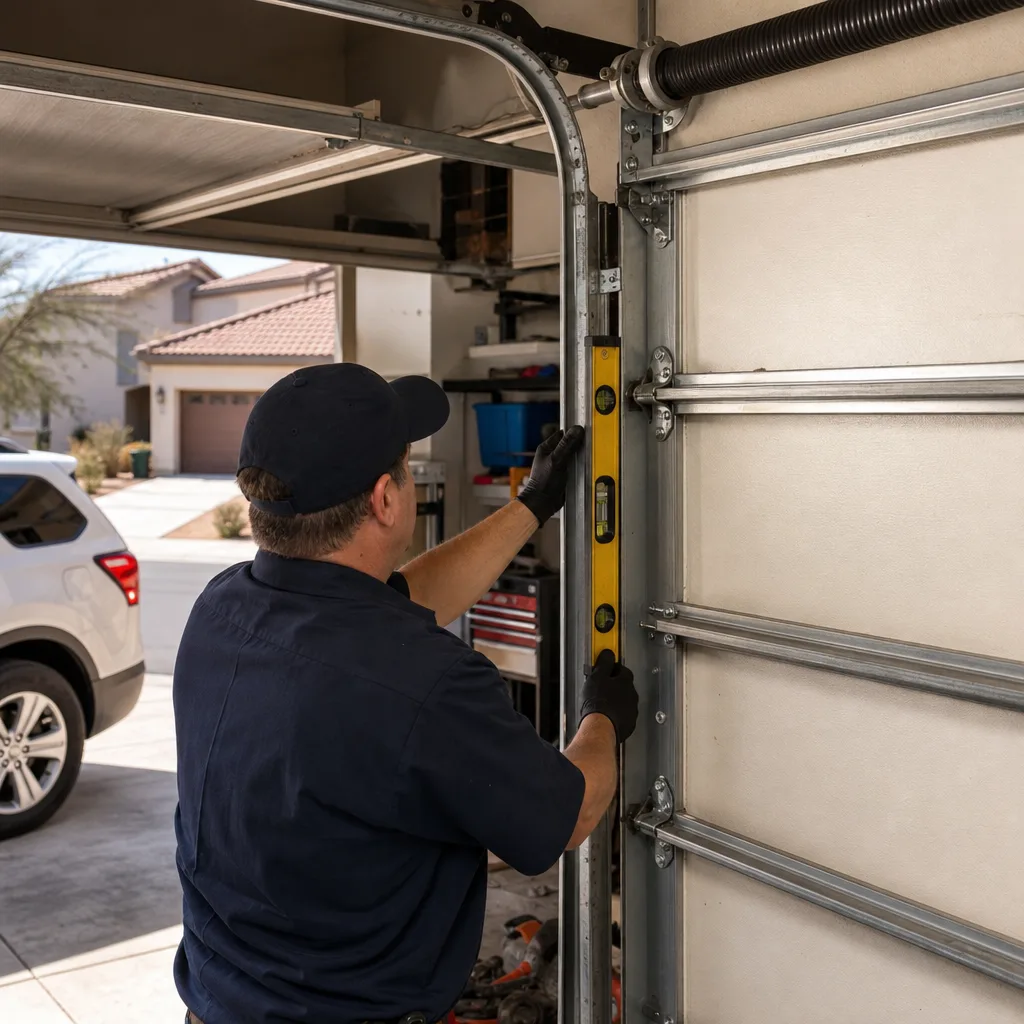
The financial math on garage door DIY is usually framed as parts versus labor. A torsion spring costs forty to eighty dollars online. A professional spring replacement in Gilbert runs between two hundred twenty and three hundred twenty dollars for a single spring, and two hundred sixty to four hundred twenty for a pair, depending on wire diameter and cycle rating. On paper, DIY saves two hundred dollars. The reality is more complicated.
First, the injury cost. CPSC data on garage door injuries shows that emergency room treatment for a spring-related hand or forearm injury runs between eight hundred and three thousand dollars depending on imaging and whether surgery is required. Even with insurance, a Gilbert homeowner with a typical high-deductible plan will pay fifteen hundred to three thousand dollars out of pocket before coverage begins. That is before accounting for lost work time, which in metro Phoenix averages three to seven days for a hand injury requiring immobilization.
Second, the correction cost. When a DIY spring or cable repair fails, the door rarely fails gracefully. We arrive to find a door off its track, a bent torsion tube where the cable drum spun free, or a stripped winding cone. Correcting a failed DIY spring replacement typically costs forty to sixty percent more than the original professional repair would have, because the technician must first undo the incorrect work, then replace the components that were damaged during the failed attempt, then complete the repair correctly. A two hundred forty dollar spring replacement becomes a four hundred dollar-plus job.
What YouTube Tutorials Consistently Get Wrong
YouTube is full of garage door repair tutorials. Some are excellent. Most contain at least one of the following three errors, and the errors compound into premature part failure or safety hazards.
Lubricant Selection
The most common recommendation on tutorial videos is WD-40. WD-40 is a solvent and water displacer, not a lubricant. Spraying it on rollers and hinges temporarily quiets noise and then accelerates wear by stripping the remaining grease. The correct products are a lithium-based grease for hinges and metal-to-metal contact points, and a silicone-based spray for rollers and tracks. We use a white lithium grease from a national brand we can name on the invoice, and we recommend the same to Gilbert homeowners. If a video tells you to spray WD-40 on the tracks, close the tab.
Spring Sizing by IPPT
Torsion springs are sized by IPPT, or inch-pounds per turn. Calculating IPPT requires knowing the door’s actual weight, the cable drum diameter, and the door height. It is not a number you can look up from the door brand alone. The tutorials that say “a 16×7 door takes a .225 wire spring” are guessing. Wire diameter is one of four variables, and getting it wrong means either an under-sprung door that the opener cannot lift or an over-sprung door that slams upward. In Gilbert’s summer, when steel expands and contracts through a forty-degree daily temperature swing, a mis-sized spring fails within months, not years.
Track Alignment That Looks Correct
Vertical track alignment is checked with a level, but horizontal track alignment matters more for long-term wear. The horizontal tracks should angle slightly downward toward the back of the garage to hold the door open. If a DIY track adjustment leaves the tracks angled upward, the door creeps forward when open, and the rollers wear against the track curve at the radius. The symptom shows up ninety days later as a grinding noise and visible roller wear. By then, the DIYer has forgotten the adjustment and calls us for a “tune-up” that is actually a track correction.
The Strategic Split: How to Use DIY and Professional Service Together
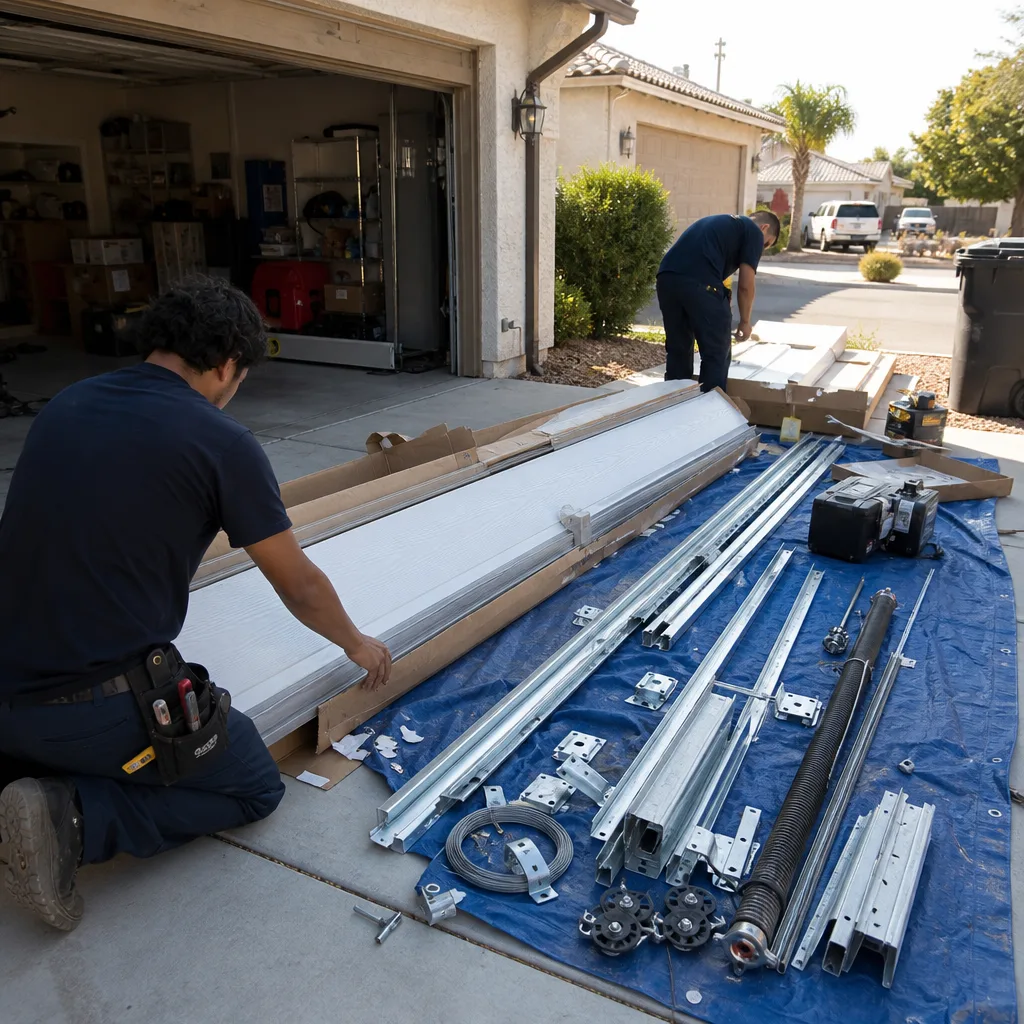
The smart Gilbert homeowner does not choose between DIY and professional service. They use both, at the component level, with documentation and more guides & resources. Here is a system that works.
- Quarterly, do the component-safe list. Clean the photo-eyes, test the manual release, inspect the weather seal, and listen to the door through a full open-close cycle. Note any new noises and where in the cycle they occur.
- Keep a symptom log. Write down what you observe: “rattle from left track when door passes halfway up,” or “door reverses when closing after monsoon rain.” Date each entry. This log is diagnostic gold, and it cuts the time a technician spends guessing.
- When a tension component shows wear, stop touching the door. A frayed cable, a gap in a torsion spring coil, or a bottom bracket that looks bent are not items to monitor. They are items to photograph and report.
- Arrive at the service call with documentation. Your symptom log plus photos of anything you observed gives the technician a head start. On our side, a call that starts with a precise symptom description typically takes twenty to thirty minutes less diagnostic time than one that starts with “it’s making a weird noise.” That translates directly into a lower labor charge.
This is the point where the garage door repair in Gilbert conversation shifts from theoretical to practical. The homeowner who documents their observations gets a faster fix and a smaller invoice. The homeowner who waits until the door stops moving entirely gets a bigger problem and a bigger number. The documentation is the difference.
How a Written Quote Works at Component Level
At Servo Garage Doors Gilbert, every repair starts the same way. We look at the door, find the failed component, and photograph it. The photo is part of your record. If the torsion spring is broken, we measure the wire diameter with calipers, note the door weight, and calculate the correct IPPT. We never guess a spring size by door height alone, and we document what we measured. Then we quote a flat written price for the repair, including parts and labor, before any work begins. Clause 1 of The Haven Standard says written price and written scope before work starts, and that is how every Gilbert job runs, including garage door installation in Gilbert.
The same documentation applies when the work is done. You receive a photo record of what was found and what was completed. Clause 4 of The Haven Standard traces back to the founding rule from 2015: the customer sees the failed part before anyone quotes a replacement. No other garage door contractor we know of in Gilbert does this by default.
For openers, the diagnostic process is similar. The logic board is the opener’s brain; the limit switch tells the motor where to stop; the trolley carriage is the part that moves along the rail. When an opener fails, we identify which of these failed before we quote a replacement. If the issue is a wall-mounted opener limit adjustment, we tell you it’s a five-minute fix and charge accordingly. If the logic board is dead, you see the photo. That is also how we handle garage door opener repair and installation in Gilbert.
Common Mistakes to Avoid
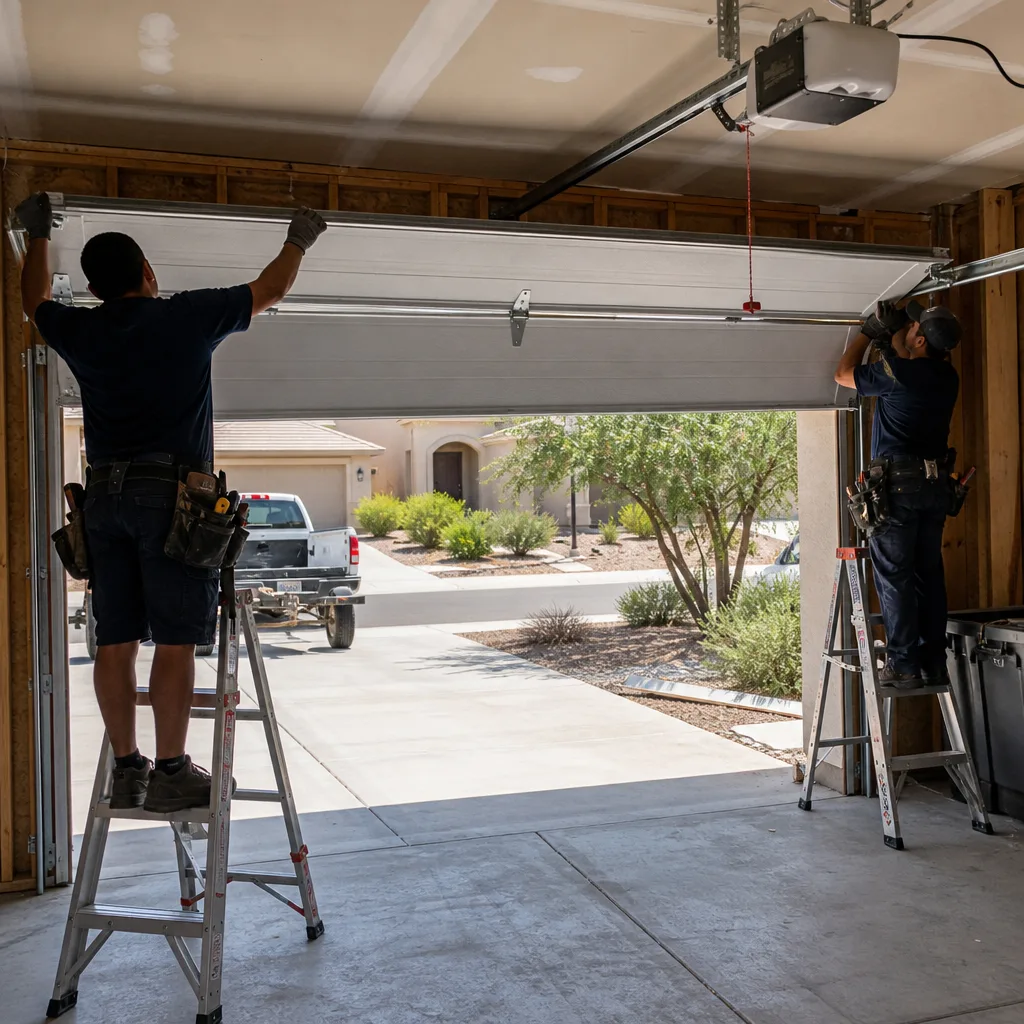
- Spraying WD-40 on tracks and rollers. It strips the lubricant that was there and accelerates roller wear. Use white lithium grease on hinges and silicone spray on rollers and tracks.
- Attempting a spring replacement with improvised tools. Screwdrivers, pry bars, and rebar are not winding bars. Every serious garage door spring injury we have reviewed involved an improvised tool of some kind.
- Replacing a bottom seal without checking the retainer profile. A seal that slides out within a week means the profile was wrong. Buy by brand and model, not by length.
- Ignoring a door that feels heavy when released. A properly balanced door should lift with one hand and stay in place at mid-height. A heavy door means a failing spring, and a failing spring will break at the worst possible moment.
- Adjusting opener force too high. The force setting is a safety mechanism. Cranking it up to force a door closed defeats the reversal system, and the next thing that happens is property damage or injury.
- Watching a video that shows a spring replacement and deciding it looks manageable. The video does not convey the force involved. A torsion spring under load does not look dangerous until it releases.
- Deferring a cable inspection. Gilbert’s dry heat does not affect cables as badly as humidity does, but fraying happens. A frayed cable is a countdown, not a cosmetic issue.
When to Call a Professional
Call a professional when the component you are looking at is a spring, a cable, a bottom bracket, or anything attached to them-work that requires the permits and codes covered in our Garage Door Permits, Codes & Inspections in AZ: What You Need to Know. Call when the door is off its track. Call when the door feels heavy in manual mode. Call when the opener’s reversal system fails the paper-towel test. Call when you see visible wear on any tension component and you are not sure what it means. Servo Garage Doors Gilbert offers free estimates in Gilbert. Call (520) 482-3838, and a live person answers, including at 2 a.m. on a Sunday when your door is stuck open and the monsoon wind is picking up.
Frequently Asked Questions
Professional garage door repair in Gilbert typically ranges from $120 for a minor adjustment or sensor realignment to $420 for a full torsion spring pair replacement. Opener logic board replacement runs $180 to $350 depending on brand and model. Every Servo job is quoted as a flat written price before work starts, so the number you approve is the number you pay. Call (520) 482-3838 for an exact quote on your specific issue.
No. Torsion and extension springs are under tension even when the door is closed, and the tools required to work on them safely are steel winding bars used with specific body positioning. Improvised substitutes are the leading cause of serious garage door spring injuries. The spring replacement cost in Gilbert is not worth the injury risk.
Clean and realign the photo-eyes, replace the bottom weather seal when the door is fully closed and you are not touching the bottom brackets, adjust opener limit and force settings in small increments, and test the manual release quarterly. These tasks do not involve stored energy and are safe for a careful homeowner.
Most often, the close limit setting is set too low, and the door is pressing against the concrete floor hard enough to trigger the force reversal. Adjust the down limit slightly upward and test. If the problem persists after adjustment, the force setting may be too sensitive, or the photo-eyes may be misaligned by a monsoon-season bump.
Standard springs are rated for 10,000 cycles, which translates to roughly seven to ten years of normal use in Gilbert. High-cycle springs rated for 25,000 to 50,000 cycles last three to five times longer and cost twenty to thirty percent more. The cycle rating matters more than the brand. If you open and close the door four times a day, a 10,000-cycle spring lasts about seven years.
Yes. Our service vehicles in Gilbert carry the most common spring sizes, cables, rollers, hinges, and opener parts for LiftMaster, Chamberlain, Genie, and Raynor systems. For less common parts, we order and return within one to two business days. Emergency calls are answered by a live person 24/7, and you’ll know the technician’s name and the written price before work begins.
The Bottom Line
The DIY versus professional garage door decision is a component-level calculation, not a personality test. Clean the photo-eyes, replace the weather seal, adjust the opener settings, and test the manual release yourself. Those jobs are safe, bounded, and genuinely satisfying to complete. Leave springs, cables, bottom brackets, and anything else under tension to a technician with steel winding bars and training. When you do call a professional in Gilbert, ask for the written price before work starts, the photo record when the work is done, and a name on the invoice. That is not a high bar. It is the minimum a professional should clear.
Written by Marcus Deller, Owner at Servo Garage Doors Gilbert, serving Gilbert since 2015.
If your garage door is making noise, moving unevenly, or simply not working, call Servo Garage Doors Gilbert at (520) 482-3838. You’ll get a flat written price before any work begins, a documented photo record when the technician leaves, and the 365-Day Done Right Promise behind every repair.